
 US
How to Mount DIN Rail Computers
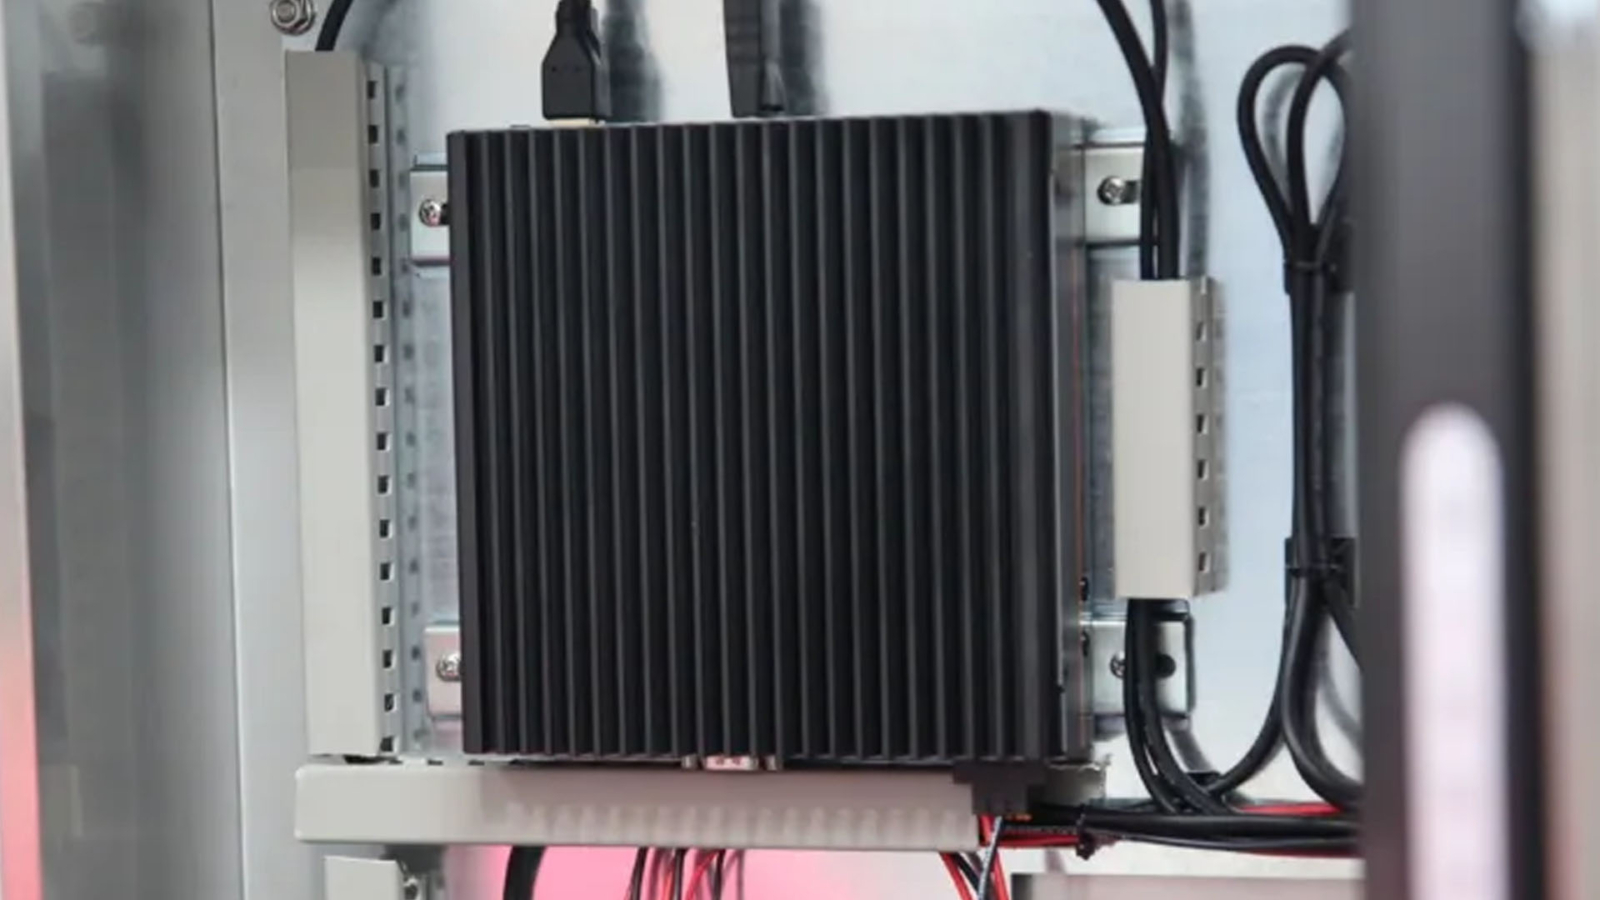
DIN rail mounting fixes a computer to a standard 35 mm rail with a spring clip, beside the PLCs and power supplies it works with. Here are the rail types and sizes, how to mount and remove a DIN rail PC, the clearances it needs and what to do with heavier systems.
DIN rail mounting is a way of fixing electrical and electronic equipment to a standard metal rail, most often the 35 mm top-hat rail defined in IEC/EN 60715, by hooking a spring clip over one edge of the rail and snapping it over the other. Circuit breakers, terminals, power supplies, PLCs and, increasingly, industrial computers all share the same rail, so a control cabinet can be laid out, extended and rearranged without drilling new holes.
For a computer, the attraction is the same as for any other device on the rail: it goes in quickly, sits in line with the equipment it talks to and can be moved or replaced in minutes. Our DIN rail PCs come with the clip fitted, and many of our box PCs take an optional DIN rail kit. This guide covers the rail types and sizes, how to mount and remove a DIN rail computer step by step, the thermal clearances a fanless system needs, and what to do with heavier systems and vibration.
Key takeaways
- 01One rail, many devices
- The 35 mm top-hat rail in IEC/EN 60715 is the standard across control cabinets worldwide.
- 02Hook, rotate, snap
- Hook the top of the clip over the rail, press the bottom until it clicks, then check it will not lift.
- 03Fix the rail properly
- The rail carries the load, so screw it to the backplate at the spacing its maker gives and add end stops.
- 04Leave room to breathe
- Fanless DIN rail PCs need clear space above and below their fins and should not sit above drives or power supplies.
- 05Heavy systems need more support
- Above about 1.5 to 2 kg, or on vibrating machines, use the wall bracket or extra clips the maker recommends.
What does DIN stand for?
DIN rails take their name from the Deutsches Institut für Normung, the German Institute for Standardization, which published the original rail specifications. The profiles were later adopted as European and international standards, now IEC/EN 60715, so the same rail and the same clip fit equipment from any manufacturer worldwide.
The rail itself is a strip of zinc-plated or chromated steel, sometimes aluminum or copper, with a hat-shaped or C-shaped cross-section. Our FAQ on what a DIN rail is gives the short answer; the sections below go into how to choose a rail and mount a computer on it.
DIN rail types and sizes
Most industrial computers use the 35 mm top-hat rail, but several profiles are still in service. The DIN rail mounting kits on our computers fit both depths of the 35 mm rail.
| Rail | Profile | Standard | Typical use |
|---|---|---|---|
| TS35 × 7.5 | 35 mm wide top hat, 7.5 mm deep | IEC/EN 60715 | The everyday rail for terminals, breakers, power supplies and computers |
| TS35 × 15 | 35 mm wide top hat, 15 mm deep | IEC/EN 60715 | Longer spans and heavier devices; more clearance behind for wiring |
| TS32 (G-section) | 32 mm wide, asymmetric G shape | Formerly EN 50035 | Older installations and heavier terminals |
| TS15 (miniature) | 15 mm wide top hat, 5.5 mm deep | IEC/EN 60715 | Small terminals and relays in compact boxes |
| C-section | C-shaped, several sizes | Formerly EN 50024 | Terminal blocks and legacy panels |
If you are planning a cabinet from scratch, the 15 mm deep TS35 rail is worth considering for a computer: it is stiffer over the same fixing spacing and leaves a little more room behind the rail. Slotted rails make fixing easier; unslotted rails are stiffer and take self-tapping screws where you need them.
How to mount a DIN rail computer
Mounting takes minutes, but the details decide whether the computer stays put and stays cool. Five steps cover it.
-
Rail
Fix it to the backplateMount a 35 mm rail horizontally on the backplate or panel, with screws or bolts suited to the material, at the fixing spacing the rail maker gives and close to either side of the computer. The rail should not flex when you push on it.
-
Clip
Check the clip and positionMake sure the DIN clip or bracket is secured to the computer with the screws supplied, and that it is on the face that leaves the fins vertical once mounted. Plan clearance above and below for air and cables.
-
Snap
Hook, rotate and clickTilt the computer, hook the top of the clip over the upper edge of the rail, then rotate the bottom towards the rail and press until the spring latch clicks over the lower edge. Pull gently: it should not lift or slide.
-
Secure
End stops and earthFit end stops on both sides so the computer cannot slide along the rail under vibration, and connect the earth terminal to the cabinet earth bar with a short conductor.
-
Connect
Power, data and testWire the DC supply to the terminal block, connect network, serial and I/O cables with strain relief, then power on and check status LEDs and communications before closing the cabinet.
Installation details step by step
Following these points will see a DIN rail PC installed reliably in an industrial control cabinet or outdoor enclosure. Always check the manufacturer’s manual for the specific mounting instructions, power requirements and clearances for your model.
- Choose the location. Pick a place on the rail with room for air around the computer and easy access to power and data cables, away from the hottest equipment in the cabinet.
- Mount the rail. Fix a standard 35 mm rail horizontally or vertically, with fixings suited to the panel, so it cannot move or vibrate. Horizontal rails are the norm for computers, since they keep the fins vertical.
- Prepare the computer. Fit the DIN clip or bracket if it is not already attached. Some clips are spring-loaded, others slide and lock with a screw.
- Attach to the rail. Hook the top of the clip over the top edge of the rail and press the bottom until it snaps into place. You should hear or feel a click. Check by pulling gently.
- Connect power. Most DIN rail PCs take DC through a terminal block, commonly from a 12, 24 or 48 V DC supply in the same cabinet. Confirm the voltage and current against the datasheet and tighten the terminals to avoid intermittent power.
- Connect data and I/O. Ethernet, serial (RS-232 and RS-485), USB and digital I/O connect to the front panel. Use cable ties and strain relief so nothing pulls on the connectors.
- Earth the computer. Connect the earth terminal, usually a screw or terminal-block pin, to the cabinet earth bar to control electrical noise and static discharge.
- Check cooling. For a fanless model, make sure nothing obstructs the fins and that the manufacturer’s minimum clearances are met.
- Power on and test. Watch the status LEDs and boot messages, test every connection and confirm the computer talks to the rest of the control system. Recheck the installation after the first period of operation.
Our guide to ways to mount an industrial computer compares DIN rail with wall, VESA and panel mounting, and for panels built to UL standards, UL 508A for control panels explains what the computer inside needs.
How do you remove a device from a DIN rail?
Most DIN rail clips release the same way. Insert a flat screwdriver into the slot or tab at the bottom of the clip, lever the spring latch down to free the lower edge, tilt the device away from the rail and lift it off the top edge. Disconnect power and cables first, and support the computer while you do it, since a heavier system will drop as soon as the latch releases.
| Clip type | How it releases | Where it is used |
|---|---|---|
| Spring-loaded latch | Lever the tab at the bottom with a screwdriver | Most DIN rail PCs, power supplies and terminals |
| Slide and screw lock | Loosen the locking screw, slide the latch, lift off | Heavier computers and vibrating installations |
| Bracket kit on a box PC | As for the clip type; the bracket stays on the computer | Box PCs with optional DIN rail mounting |
Thermal clearance for fanless DIN rail PCs
Most DIN rail computers are fanless, and their fins pass heat to the cabinet air by natural convection. That only works if the warm air can rise away from the case and cooler air can reach it from below. A few rules keep a DIN rail PC within its rating.
- Fins vertical. Mount on a horizontal rail with the fins running up and down, as the manufacturer rates it.
- Space above and below. Leave the clearance in the manual, and keep cable ducts from closing off the top and bottom of the case.
- Not above hot equipment. Avoid mounting directly above drives, power supplies or transformers, which pre-heat the air reaching the fins.
- Rate to the cabinet air. The temperature that matters is inside the cabinet, often 10 to 20 °C above the room in a closed enclosure.
If the cabinet runs hot, our guide to electrical enclosure cooling works through the heat-load calculation and the cooling options, and how a fanless PC works explains why fin orientation matters. A processor that runs out of thermal margin slows down rather than failing, which our guide to thermal throttling describes, and installing an industrial fanless PC covers wiring and power in the cabinet.
Vibration and heavy systems
A DIN rail clip is designed to hold a device against the rail, not to carry a heavy box on a shaking machine. Small DIN rail PCs typically weigh around a kilogram and sit happily on a single clip; larger box PCs with DIN kits can weigh two to four kilograms, and for those the maker’s own recommendation should decide between the rail and a wall bracket.
| Example from our range | Weight | Standard mounting | Notes |
|---|---|---|---|
| Neousys POC-610 | 0.98 kg | DIN rail | Fanless Atom gateway 56 mm wide |
| Neousys POC-915 | 1.2 kg | DIN rail | MIL-STD-810H vibration and shock tested with the wall-mount kit |
| Advantech MIC-712-OX | 2.05 kg | Wall, DIN rail bracket optional | Jetson Orin NX edge AI computer |
| Neousys Nuvo-9002E-UL | 3.58 kg | Wall, DIN rail optional | Fanless Intel Core system with a PCIe slot |
On machines and in vehicles, use end stops on both sides, fix the rail at closer spacing, and secure cables so their weight does not lever the computer off the rail. Where a computer is tested for vibration with a wall-mount kit, as the POC-915 is, that kit is the reference for harsh installations.
Why DIN rail computers suit control cabinets
Industrial gateways and DIN rail computers are built for the conditions inside control cabinets and outdoor enclosures: temperature swings, dust, moisture, vibration and electrical noise.
- Rugged design. Most are fanless, which keeps dust and debris out, and built from metal that resists shock and vibration on factory floors and roadside sites.
- Compact and modular. Narrow cases sit between terminals and breakers, and the rail makes it easy to add, move or replace a computer later.
- Wide operating temperature. Many models run from −25 °C or −40 °C up to 70 °C, so they suit hot factories and unheated cabinets alike.
- Industrial I/O. Serial ports, multiple LAN ports, USB, isolated digital I/O and wireless let them connect sensors, actuators and controllers directly; our guide to DIO vs GPIO explains the digital I/O options.
For a recent example, the Neousys POC-900 brings AMD Ryzen AI to the DIN rail, with a 16 TOPS NPU in a 64 mm wide case. In practice, our IoT gateways monitoring manufacturing machines show DIN rail computers collecting machine data, and supercapacitor vs battery UPS explains how to keep a rail-mounted computer running through power dips.
What else goes on the rail
The computer shares the rail with the equipment that powers and connects it.

DIN rail power supplies
Industrial 24 V supplies sized for the computer and the rest of the cabinet.
View range
Industrial UPS
DIN rail UPS and supercapacitor modules that keep a computer up through dips and shut it down cleanly.
View range
Unmanaged industrial switches
Compact switches that add Ethernet ports beside the computer.
View range
Data acquisition and I/O
I/O modules that bring analog and digital signals into the computer.
View range
PoE computers
Computers that power cameras directly, saving a switch in the cabinet.
View rangeDIN rail computers from our range
These systems mount on the rail as standard or with a kit. We configure the operating system image, fit storage and wireless modules and test each computer before it ships.
| Example from our range | Processor | Key facts |
|---|---|---|
| Neousys POC-915 | AMD Ryzen PRO 8640U, 15–30 W | 16 TOPS NPU; four PoE+ ports; −25 to 70 °C at 15 W; DIN rail as standard |
| Neousys POC-400 | Intel Atom x6425E, 12 W | Three 2.5GbE with two PoE+; −25 to 70 °C under full load; DIN rail as standard |
| Premio BCO-1000-EHL-10 | Intel Celeron J6413, 10 W | 2.5GbE and GbE, two COM, CAN headers; 9–36 V DC; optional DIN rail kit |
| Advantech MIC-712-OX | NVIDIA Jetson Orin NX | Up to 157 TOPS in Super mode; −25 to 70 °C with airflow in 25 W mode; optional DIN rail bracket |
DIN rail computers to start from
Four computers that clip onto a 35 mm rail, from a low-power Atom gateway to a Jetson edge AI system, each supplied with its operating system image installed and tested.
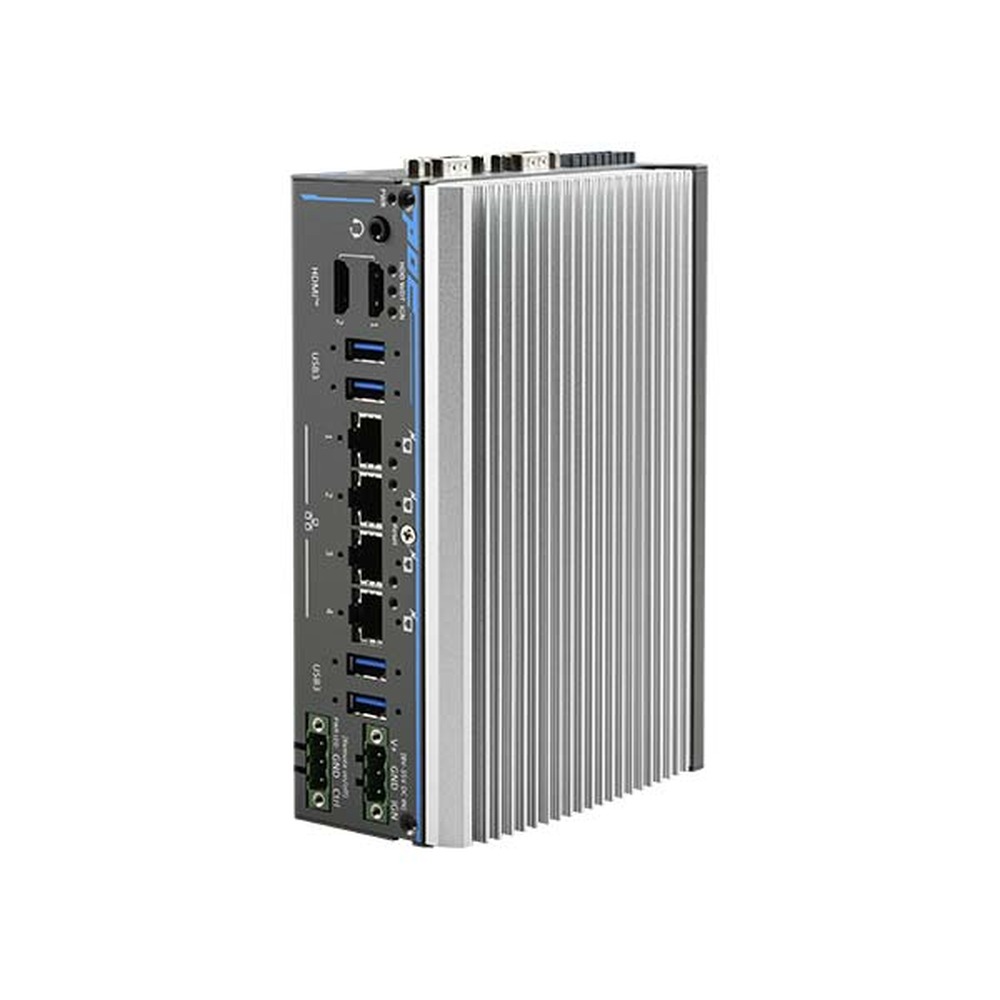
AMD Ryzen PRO 8640U Ultra-Compact DIN Rail PC with NPU and 4x PoE+
- AI
- 16 TOPS
- CPU
- AMD Ryzen PRO 8000
- Ethernet
- 4× GbE (4× PoE)
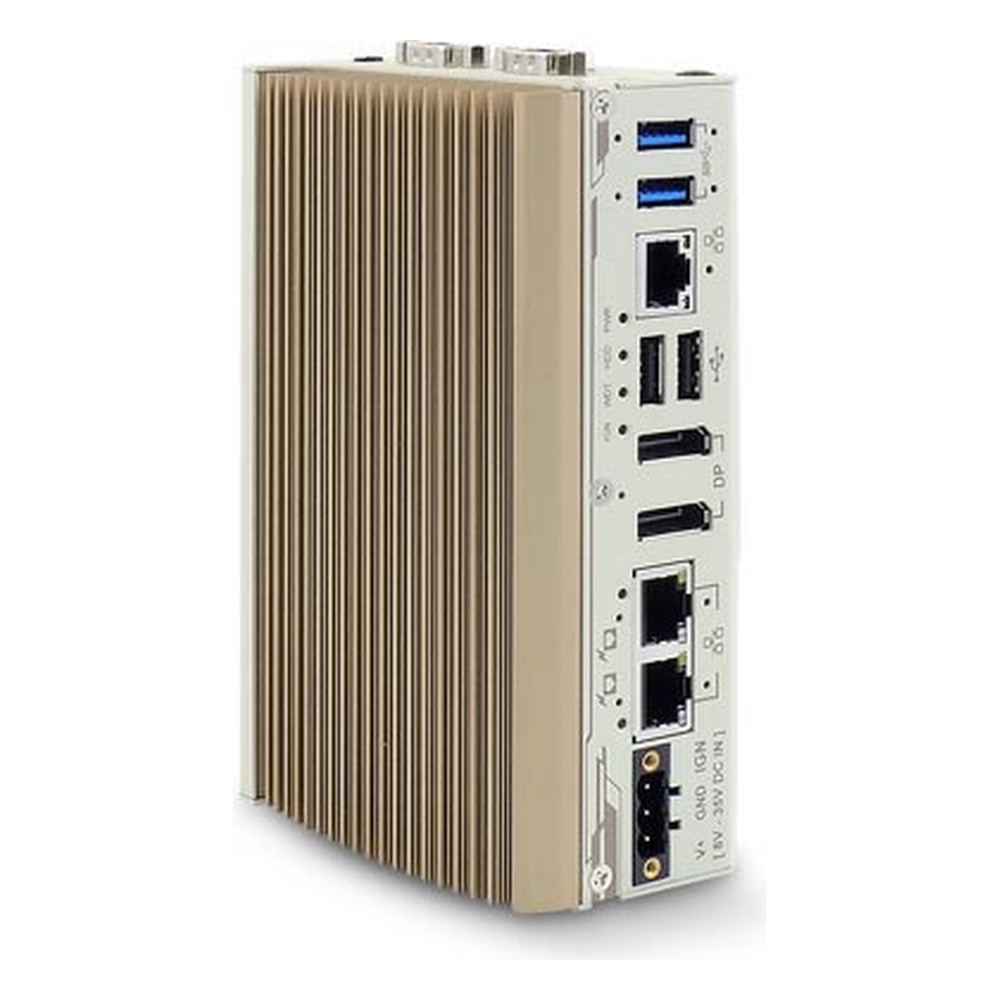
Intel Atom x6425E DIN Rail Computer with 3x 2.5GbE, 2x PoE+ and Dual 4K DisplayPort
- CPU
- Intel Atom x6425E (Elkhart Lake)
- Ethernet
- 3× 2.5GbE (2× PoE)
- Temp
- −25 to +70 °C
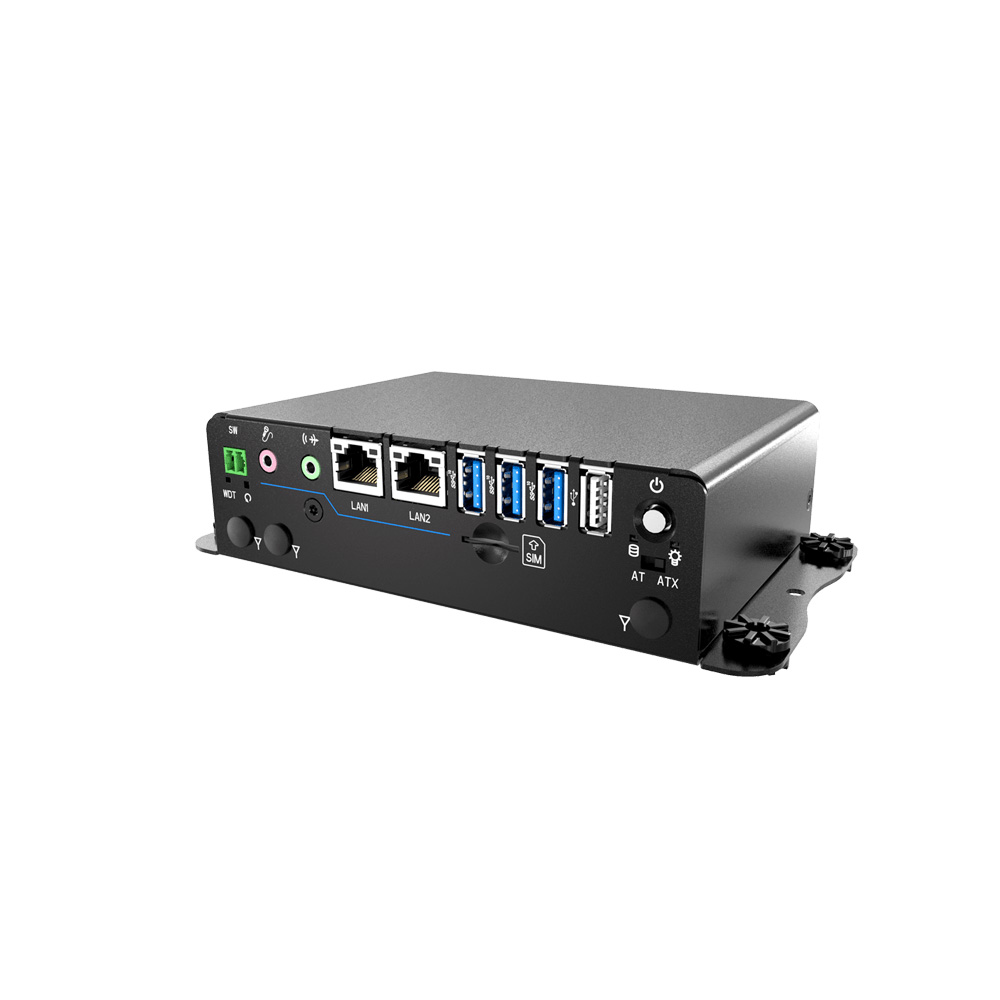
Intel Celeron J6413 Fanless DIN Rail Embedded PC with 2.5GbE and 2x COM
- CPU
- Intel Celeron J J6413 (Elkhart Lake)
- Ethernet
- 1× 2.5GbE, 1× GbE
- Temp
- −20 to +50 °C
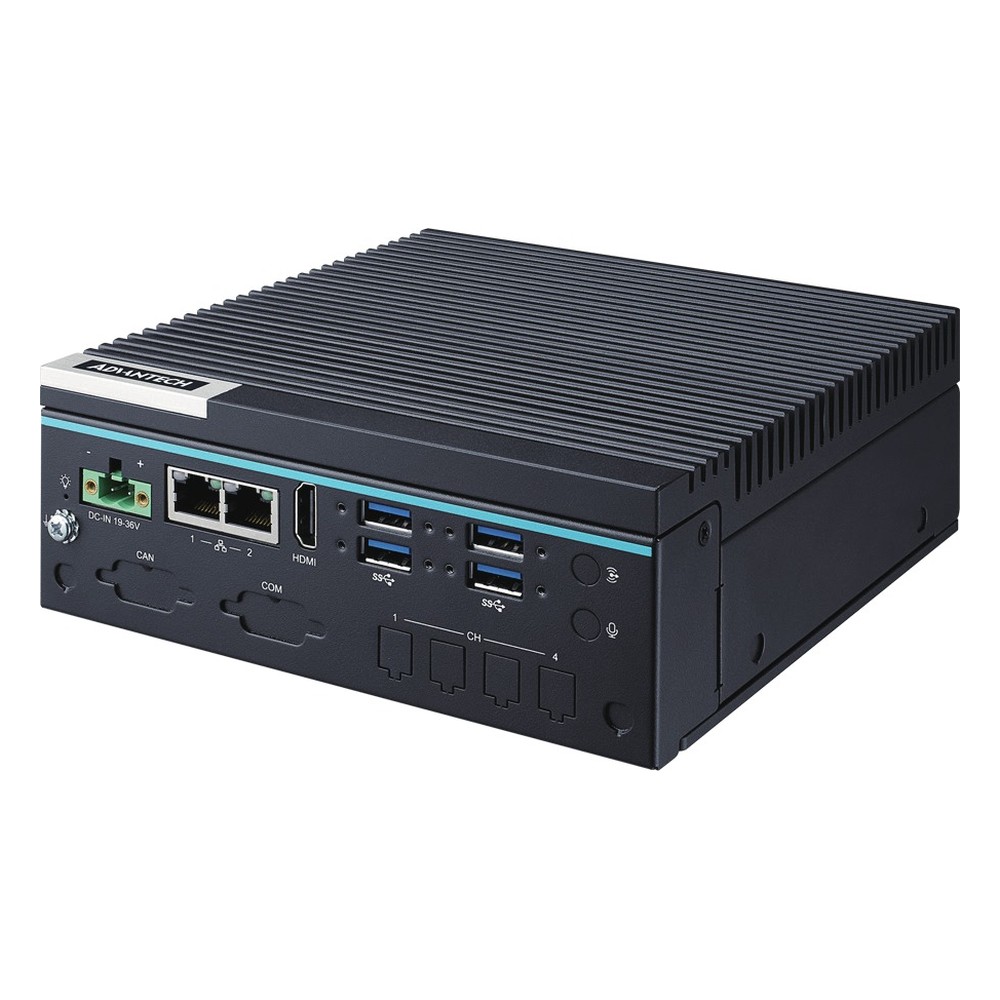
NVIDIA Jetson Orin NX Fanless Embedded Computer with Out-of-Band Management and -25 to 70 °C
- AI
- 70–100 TOPS
- SOM
- NVIDIA Jetson Orin NX 16 GB
- Ethernet
- 2× GbE
Before you mount a DIN rail computer
Six checks for a secure, cool installation.
-
01
Rail
A 35 mm IEC/EN 60715 rail, 7.5 or 15 mm deep, fixed at the maker’s spacing.
-
02
Weight
The computer’s weight against the clip, with a wall bracket for heavier systems.
-
03
Clearance
Space above and below the fins, and nothing hot mounted underneath.
-
04
Retention
End stops on both sides and cables secured with strain relief.
-
05
Power and earth
The correct DC voltage on the terminal block and a short earth to the earth bar.
-
06
Temperature
A computer rated for the air inside the cabinet, not the room.
DIN rail mounting: common questions
Quick answers
What is DIN rail mounting?
Fixing equipment to a standard metal rail with a spring clip. Devices hook over one edge of the rail and snap over the other, so they can be added or moved without drilling.
What does DIN stand for?
Deutsches Institut für Normung, the German standards body. It published the original rail specifications, now international standard IEC/EN 60715.
What size is a standard DIN rail?
35 mm wide, in 7.5 mm or 15 mm depths. This TS35 top-hat rail is the standard for computers and most control equipment; 15 mm miniature and 32 mm G-section rails also exist.
How do you install a DIN rail mount?
Hook the top of the clip over the rail and press the bottom until it clicks. Then fit end stops, connect the earth and check the device cannot lift off.
How do you remove a device from a DIN rail?
Lever the latch at the bottom of the clip with a screwdriver and tilt the device off. Disconnect power and cables first, and support heavier devices as the latch releases.
What can be mounted on a DIN rail?
Breakers, terminals, relays, power supplies, PLCs, switches and computers. Many industrial computers and gateways come with a DIN clip, and larger box PCs often take an optional DIN rail kit.
DIN rail FAQs
-
What Is a DIN Rail?
A DIN rail is a standard metal rail used to mount electrical and control equipment inside cabinets. The most common type is the 35 mm top-hat rail defined in EN 60715. Circuit breakers, power supplies, PLCs, terminal blocks, network switches and compact industrial PCs clip onto it side by side, which keeps wiring tidy and makes parts quick to swap.
-
What Is a PLC?
A PLC (programmable logic controller) is a rugged industrial computer that controls machines and processes. It reads inputs from sensors and switches, runs a control program in a fast repeating cycle and switches outputs such as motors, valves and lamps. PLCs replaced hard-wired relay panels and now run most factory, utility and building automation.
-
What Is Galvanic Isolation?
Galvanic isolation separates two circuits so that no current can flow directly between them, while power or data still passes across the gap by light, a magnetic field or an electric field. It breaks ground loops, blocks damaging voltages and noise, and protects people and equipment wherever circuits at different potentials have to connect.
-
What Is a Computer Power Supply (PSU)?
A computer power supply, or PSU (power supply unit), converts mains AC or a DC source into the regulated low-voltage DC rails a computer runs on, mainly 12 V, 5 V and 3.3 V. Desktops use an internal ATX supply; servers use redundant hot-swap supplies; industrial PCs often take a wide-range DC input directly.
-
What Are VESA Mount Sizes?
VESA mount sizes are standard screw-hole patterns on the back of a monitor, TV or panel PC, given in millimeters between hole centres, horizontal first. The common sizes are 75 × 75 and 100 × 100 for small and mid-size screens, 200 × 200 for larger ones, and 400 × 400 and up for big displays.
-
What Is the Industrial Temperature Range?
The industrial temperature range is −40 to 85 °C: the grade an electronic component must operate across to be called industrial, compared with 0 to 70 °C for commercial parts. Rugged computers built from industrial-grade components typically run from −25 or −40 °C up to 70 °C as a complete system.
Need help choosing a DIN rail computer?
Tell us what the computer has to run, the I/O it needs, the supply in the cabinet and the hottest air it will see. We will recommend a DIN rail PC to suit, then configure, image and test it before it ships.